dawoodsarfraz[dot]cs[at]gmail[dot]com
"Please keep your emails short and to the point. Otherwise, I may not be able to respond. Thanks for understanding."
About
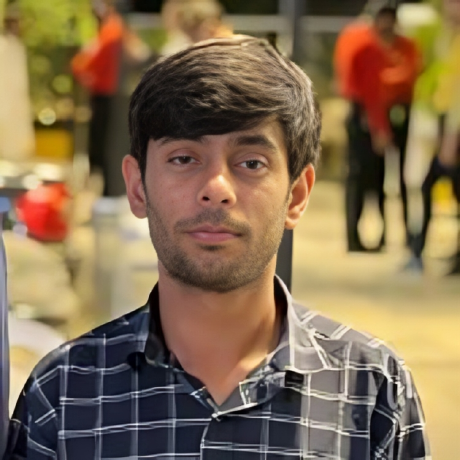
Welcome! I am a Machine Learning Engineer at Rezunate AI, where I work on Computer Vision projects. During my BSCS at FAST National University of Computer and Emerging Sciences, I worked as a Research Assistant on medical image processing, time series analysis, and recommendation system projects.
Research
My main research interests lie in Computer Vision, 3D Computer Vision, Computer Graphics, Robotics, Generative Models (including Stable Diffusion), and Autonomous Systems such as self-driving cars. I am passionate about exploring how these areas intersect to solve challenging problems in AI and real-world applications.
As part of my work, Most of my projects and contributions can be found on GitHub.
Education

Information Technology University (ITU), Lahore
Master of Science in Data Science
Coursework:
- Advanced Mathematics
- Machine Learning
- Tools and Techniques for Data Science

National University of Computer and Emerging Sciences (FAST NUCES)
Bachelor of Science in Computer Science
Specialization:
- Artificial Intelligence
- Machine Learning
- Deep Learning
- Digital Image Processing
- Data Science
- Computer Vision
- Natural Language Processing
Experience

Rezunate AI
Machine Learning Engineer
November 2025 – Continue | Lahore, Pakistan (On-site)
- Working on computer vision projects leveraging the latest state-of-the-art architectures. .
OrbytLabs
Co-Founder | Machine Learning Engineer
June 2024 – November 2025 | Remote
- Developed a vehicle price prediction system, applying data validation, feature engineering, and model optimization. Iteratively improved the model to achieve 98% prediction accuracy, enabling accurate and reliable price estimations.
- Built object detection and tracking systems using YOLOv10/YOLOv11, integrating tracking algorithms for real-time visual understanding in smart security solutions. Applied post-training quantization (PTQ) and Quantization-Aware Training (QAT) to optimize model performance and ensure efficient, real-time inference on edge devices.
- Implemented intrusion detection systems by combining motion-based region analysis and AI-driven object localization to automatically detect and flag unauthorized entries or restricted zone violations in real time.
- Implemented OCR pipelines using Tesseract and EasyOCR to extract and structure information from scanned documents and ID cards, enabling automated data extraction and document digitization.
- Created and deployed LLM-based chatbots and document understanding systems using OpenAI, Claude, and Gemini APIs with RAG pipelines to automate customer support and business operations. Fine-tuned large language models (LLMs) for domain-specific use cases, enhancing contextual understanding, accuracy, and efficiency.
- Optimized deep learning pipelines using transfer learning, quantization, pruning, and model optimization techniques to improve accuracy and efficiency during experimental evaluations.

Deutics Global
Associate Machine Learning Engineer
Jan 2025 – July 2025 | Lahore, Pakistan (On-site)
- Developed and optimized a real-time video analytics system by converting RTSP streams to WebRTC for efficient live video processing and reduced latency.
- Implemented advanced tracking algorithms for real-time object tracking across frames, enabling movement monitoring and direction estimation.
- Built and integrated OCR pipelines using Tesseract, EasyOCR, and custom deep learning models to extract license plate numbers from images and video streams.
- Designed and optimized algorithms for wait time estimation, queue detection, speed calculation, and traffic light violation detection, along with advanced modules for eye state detection (drowsiness monitoring), seat belt detection, and driver attention monitoring to enhance traffic efficiency and enforce road safety regulations.
- Implemented line and zone intrusion detection systems to monitor restricted areas, strengthen surveillance, and enforce access control.

FAST NUCES
Research Assistant
Sep 2023 – Dec 2024 | Pakistan (On-site)
- Project: Personalized Recommendation System Development
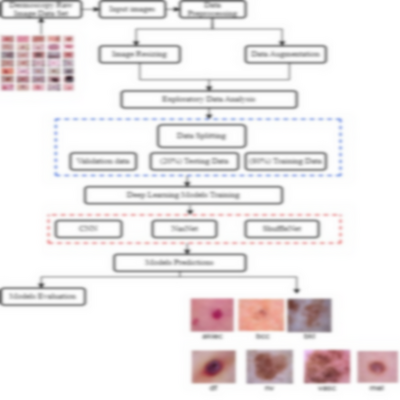
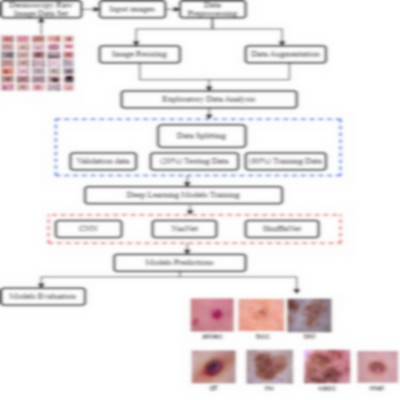
- Developed a multi-class skin cancer classification system using the HAM10000 dataset to classify various types of skin lesions.
- Custom CNN achieved 92% accuracy, precision 92%, recall 92%, F1 score 92%.
- NasNet achieved 93% accuracy with precision 94%, recall 93%, F1 score 93%.
- ShuffleNet enhanced computational efficiency using grouped convolutions and channel shuffling; accuracy 87%, precision 87%, recall 87%, F1 score 87%.
- Optimized data pipelines and applied augmentation strategies to improve robustness and reduce over-fitting.

Anonymous Tree
Machine Learning Engineer (Intern)
Jun 2023 – Aug 2023 | Remote, Pakistan
- Project: Personalized Recommendation System Development
- Collected and processed user interaction data (e.g., purchases, ratings) along with item metadata (e.g., product categories, descriptions, attributes) to build a robust dataset. The data was cleaned, normalized, and structured for efficient use in model training. Additionally, techniques such as data imputation and feature scaling were implemented to handle missing values and enhance the accuracy and reliability of model predictions.
- Developed a content-based recommendation system utilizing item metadata (e.g., text-based features) to recommend similar products to users. Implemented collaborative filtering techniques such as user-based and item-based approaches combined both into a hybrid recommendation system for improved accuracy.
- Tuned hyper-parameters using Grid Search and Randomized Search for optimal performance. Evaluated models using Precision, Recall, F1 Score, and Mean Squared Error (MSE). Applied cross-validation to ensure generalization and prevent over-fitting.
- Integrated Matrix Factorization methods (e.g., SVD, KNN) for collaborative filtering. Utilized TF-IDF and Cosine Similarity for content-based filtering to identify similar items.
- Monitored real-time recommendation performance and ensured alignment with business goals. Incorporated user feedback into model retraining and improvement cycles. Analyzed system performance over time and tested new features for better accuracy.
Projects
I believe the best way to learn is by doing. I have completed many projects, and here is a list of the most notable ones in reverse chronological order.. For more information, please visit GitHub.
Highlighted Projects
-
Skin Cancer Classification using NasNet and ShuffleNet
Dawood Sarfraz
Pytorch
[ Paper | Supplementary | Project | Bibtex | Code | Website | Video ]
-
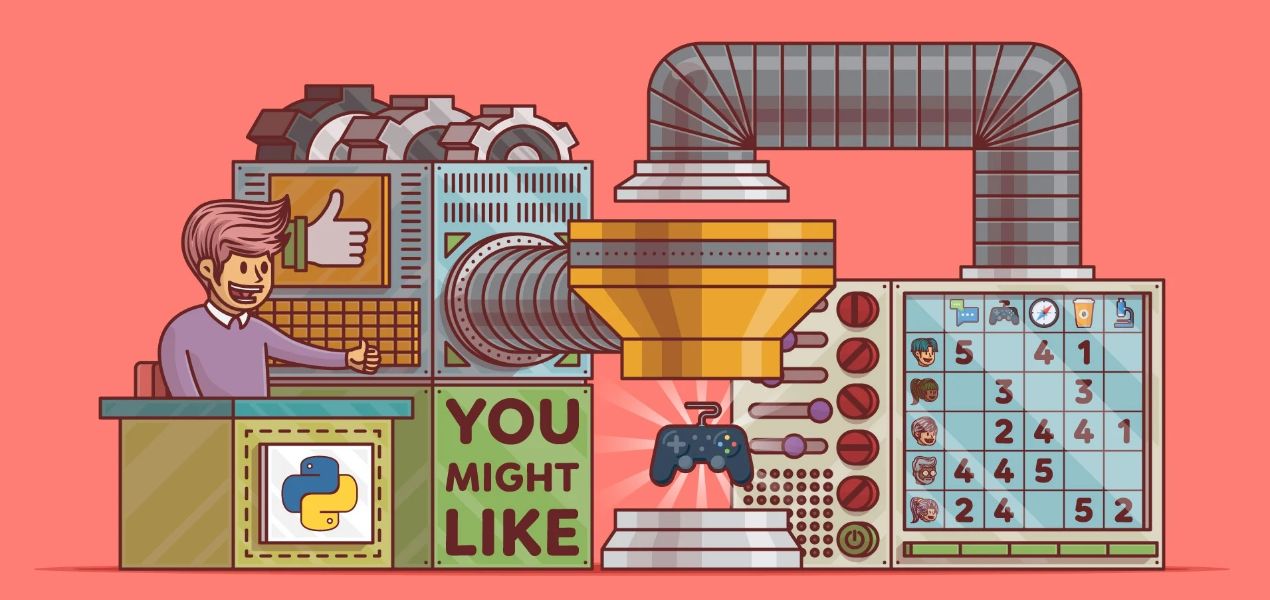
Product Recommender System
[ Project Report | Code ]
-
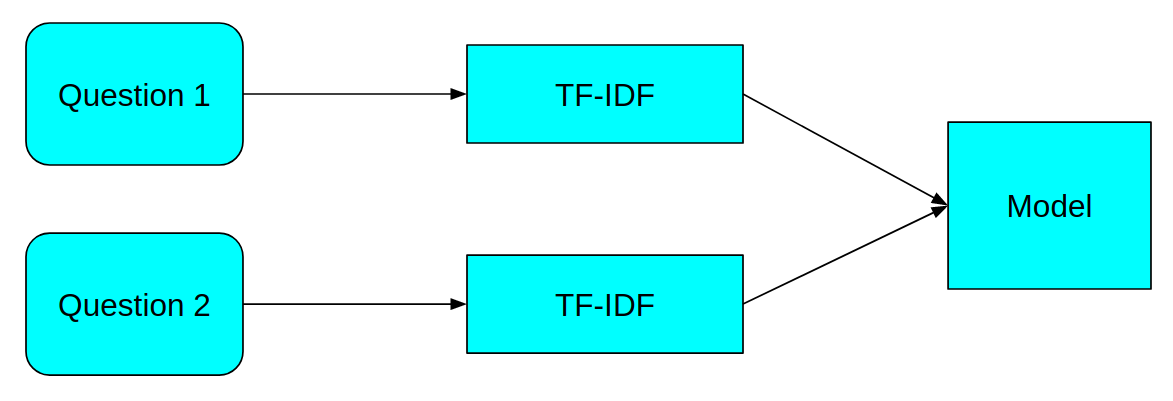
Duplicate Question Pairs
Pytorch
[ Code ]
-
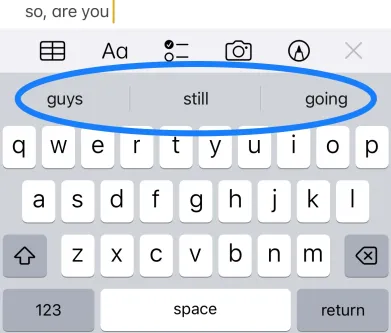
Text Generation using LSTMs
Python, NumPy, Pandas, TensorFlow, Keras
[ Code ]
-
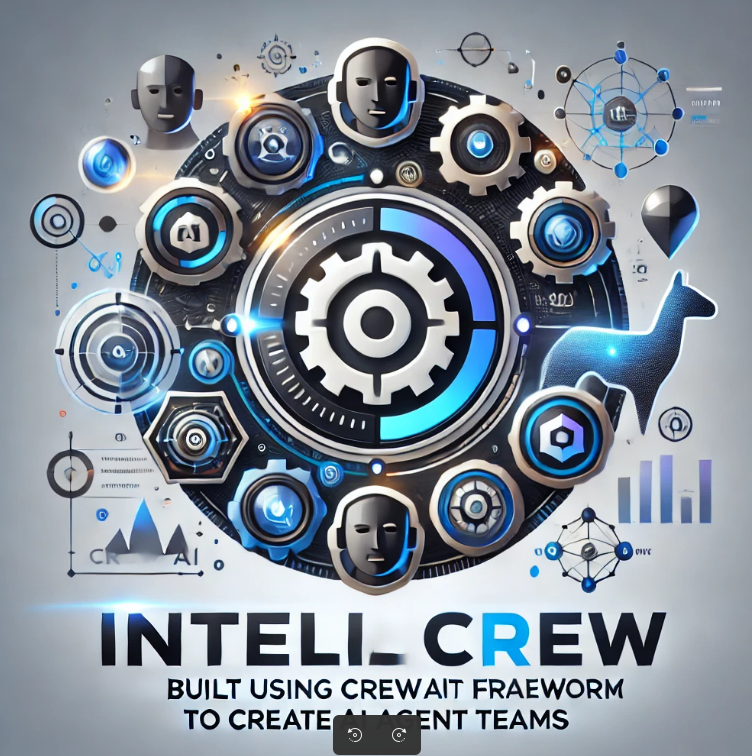
Collaborative AI System for Task Research and Analysis
Python, Ollama, Llama 3.2, CrewAI, and Serper
[ Code ]
-
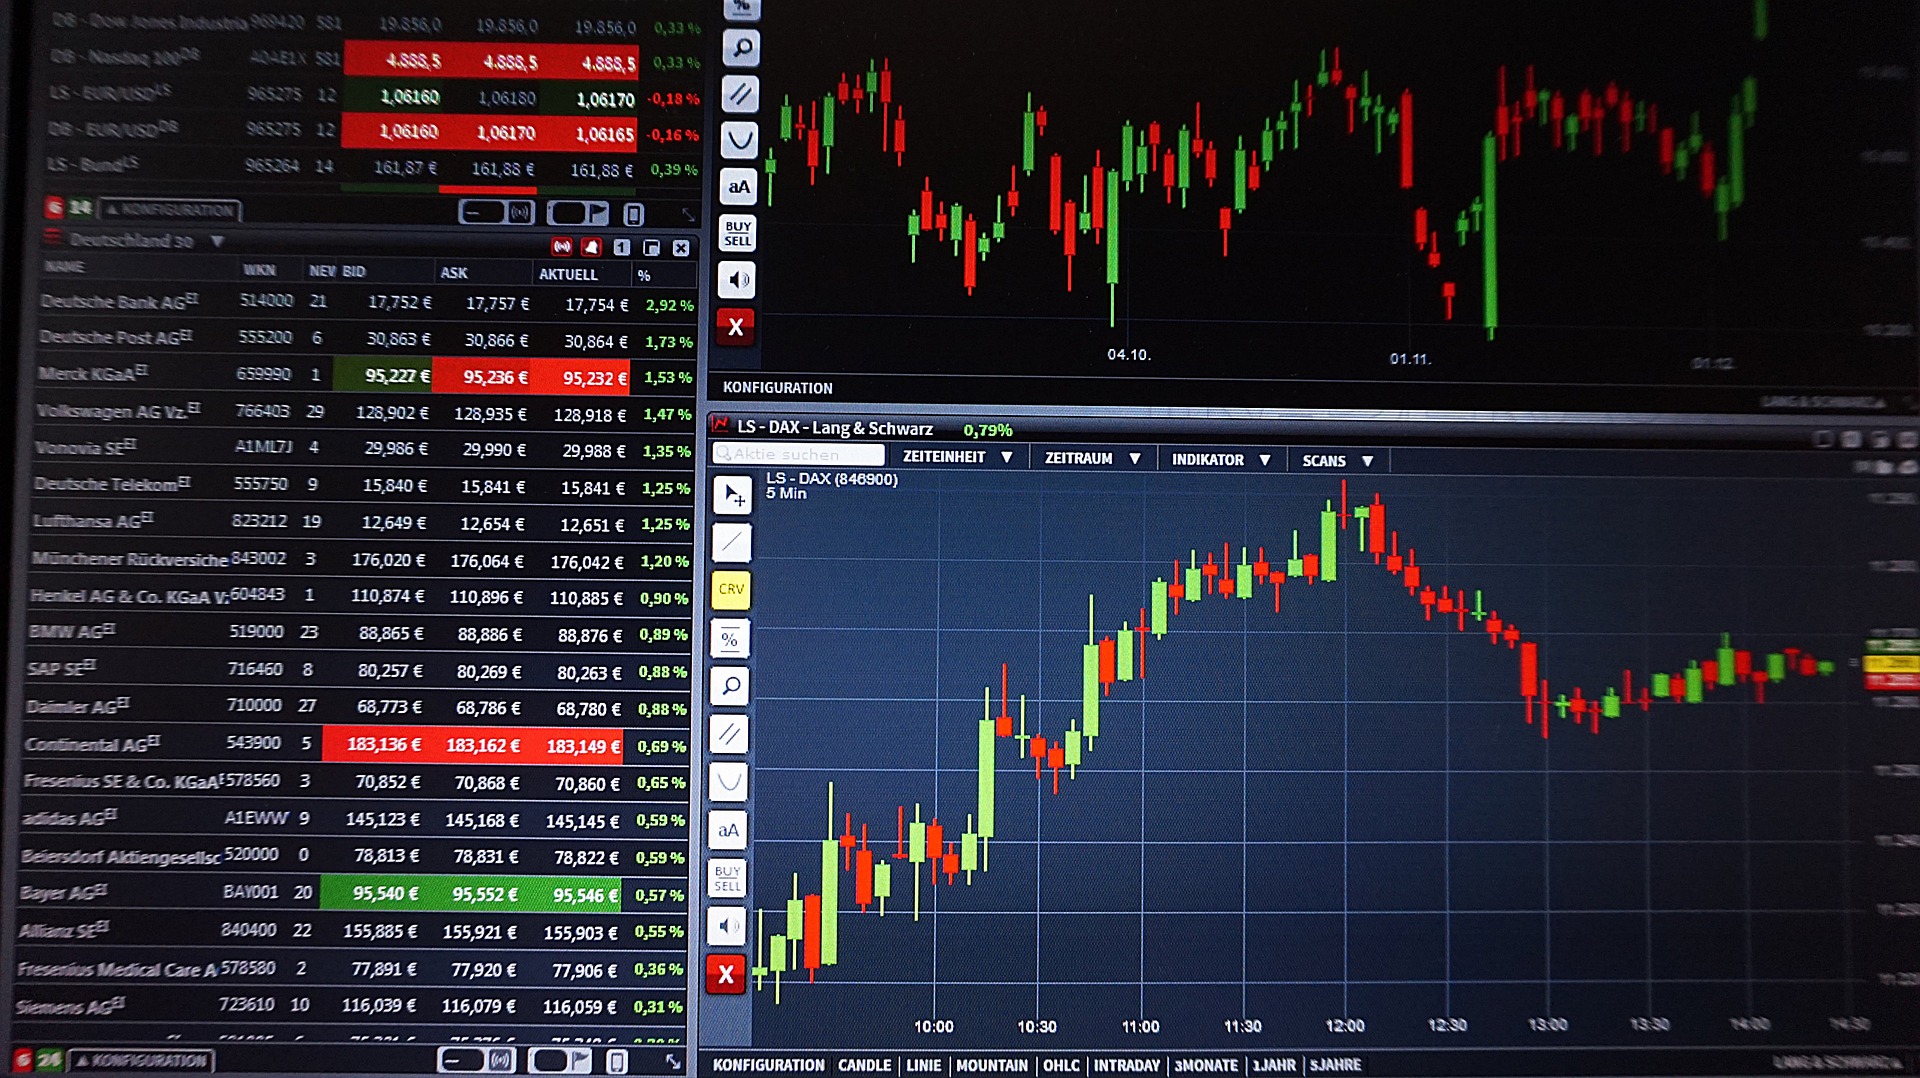
Stock Market Prediction using LSTM
Python, NumPy, Pandas, Keras, TensorFlow
[ Code ]
-
AI Research Assistant for Real-Time Information Discovery
Python, Ollama, Llama 3.2, CrewAI, and Serper
[ Code ]

-
Twittet Sentiment Analysis using Machine Learning
Python (version 3.7+), Pandas, NumPy, Scikit-learn, SVM, KNN, DT, XGBoost, Random Forest, Logistic Regression
[ Code ]
-
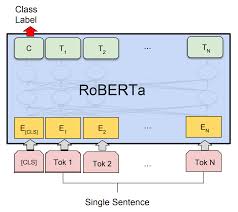
Text Classification using Classical NLP and RoBERTa
Dawood Sarfraz
Python, Tensorflow, RoBERTa, VADER lexicon, NLTK
[ Code ]
-
Intelligent Academic Assistant for Text and Image Tasks
Python, Llama 3.2 3B, LangChain, Streamlit, Ollama
[ Code ]

-
Smart Literature Review and Research Analysis Assistant
Python, RAG, Mistral 7B, Ollama
[ Code ]
-
Russian Language Sentiment Analysis
Tech Stack: Python (version 3.7+), Pandas, NumPy, NLTK ('punkt', stopwords, SnowballStemmer), TfidfVectorizer, scikit-learn (MultinomialNB)
[ Code ]
-
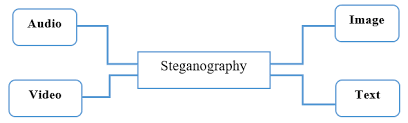
Text, Image, Audio and Video Steganography
Python 3, OpenCV, NumPy, Matplotlib, ImageIO, SciPy, tqdm, pypng, wave, Linux
[ Code ]
-
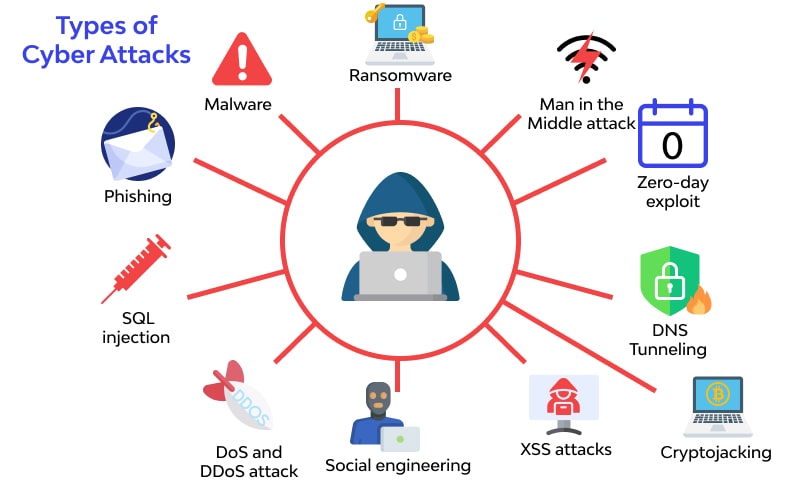
Cyber Attacks Classification using Machine Learning
Dawood Sarfraz
Python (version 3.7+), Pandas, NumPy, Scikit-learn, SVM, KNN, DT, XGBoost, Random Forest, Logistic Regression
[ Project Report | Code ]
-
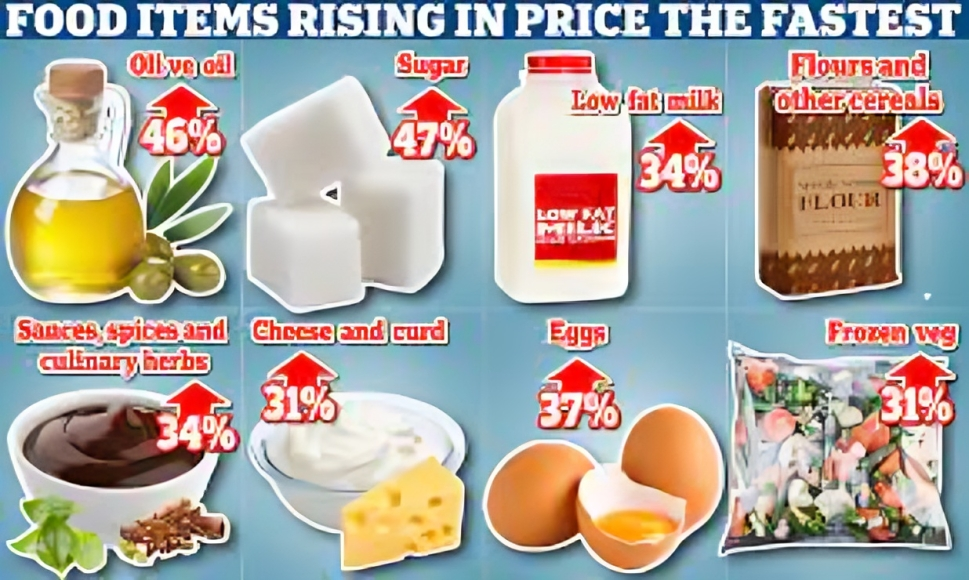
Pakistan Food Price Analysis
Python 3.7+, NumPy, Pandas, Matplotlib, Plotly, Seaborn, scikit-learn SVM, MLPRegressor, RandomForestRegressor, AdaBoostRegressor, DecisionTreeRegressor
[ Code ]
-
Mart Sales Prediction using XGBoost
Python (version 3.7+), Pandas, NumPy, Scikit-learn, XGBoost
[ Code ]
-
Gold Price Prediction using Random Forest Regressor
Python (version 3.7+), Pandas, NumPy, Scikit-learn
[ Code ]

Publications
List of papers is in reverse chronological order. For more information, please visit Google Scholar.
Papers
-
Skin Cancer Classification using Deep Learning
arXiv, 2025
[ Paper | Supplementary | Project | Bibtex | Code | Website | Video ]
Skills
Programming Languages: Python, C++, JavaScriptFull-Stack Web Technologies: HTML, CSS, Bootstrap, React, FastAPI, Django, Flask, Streamlit, Gradio
Tools & Platforms: Git, Docker, AWS, GCP, Azure, Linux
Databases & Vector Stores: MySQL, PostgreSQL, MongoDB, Redis, FAISS, Pinecone, Weaviate
ML/DL Frameworks:Scikit-learn, PyTorch, TensorFlow, Keras, YOLO, Hugging Face Transformers, OpenCV
NLP Libraries: spaCy, NLTK
Data Science & Visualization: NumPy, Pandas, SciPy, Matplotlib, Seaborn
Architectures & Models: Transformers, BERT, RoBERTa, Vision Transformers (ViTs), CLIP, CNNs, RNNs, LSTMs, GANs, Autoencoders
OCR & Document Processing: EasyOCR, Tesseract OCR
Generative AI Libraries & Tools: LangChain, LangGraph, LlamaIndex, CrewAI
Large Language Models: LLaMA, DeepSeek, Mistral, Falcon, Phi, Qwen, Granite, Gemma
Speech Models: Whisper
Techniques: Retrieval-Augmented Generation (RAG), Prompt Engineering, Fine-tuning, LoRA, QLoRA, Quantization, Model Distillation, PEFT
Miscellaneous
News
- X Y, 2025, News, “See Here”
Blogs
- X Y, 2025, JSON vs TOON, “Read Blog Here”
Selected Talks
- X Y, 2025, Selected Talk “Watch Talk Here ”
Workshops
- X Y, 2025,Workshops “Attend Workshop Here”
Tutorials
- X Y, 2025, Tutorials “Watch Tutorial Here”
Resources
- Aug 2, 2026,
C powers what AI, robotics, and embedded systems run on GPU kernels, firmware, real-time control, where speed and memory can't be an afterthought. “Advance-C-Language.” - Jan 4, 2026
Gil Strang, MIT's famous linear algebra professor, calls deep learning essentially applied linear algebra just matrices stacked in layers.
Linear algebra is the math behind every model, vectors, matrices all of it. “Linear Algebra”